After recently watching the film Parasite,#
I couldn’t get over the simple fact that it’s rather easy to mix noodle packets together. Why wasn’t I trying this sooner?
Deciding enough is enough, I jumped on the opportunity to make a combination of flavours some may deem strange, but feeling adventurous I grabbed two packets from the pantry and went to work.
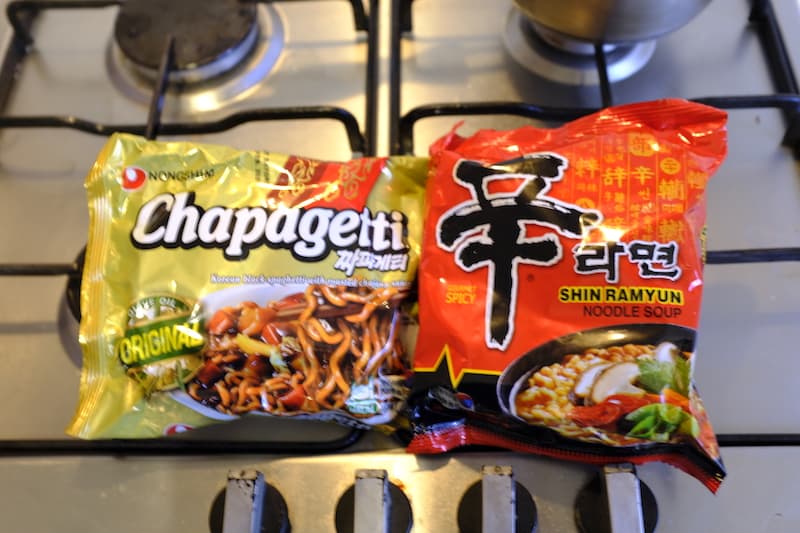
My combo of choice; Chapagetti, a black bean style noodle, with Shin Ramyun, a sort of spicy soupy noodle. Both didn’t really seem like they should mix on paper, ending up with a soupy spicy deep flavour may not be the way to go…
These are step-by-step directions of how I created my first mix.
Overview#
We will be creating a ‘Dry’ Chapagetti Shin Ramyun mix, where we add most of the powders into the bowl, and add mostly drained noodles.
When I make noodles, I make noodles.
All this means is that I like to add extra ingredients into my noodle creations. Today we will be adding:
- Wombok (Chinese Cabbage)
- Eggs
I’m also going to be using a 16cm saucepan. I’d advise to use this size or a bit bigger, as any smaller and your noodles won’t fit!
Step 1 (Boil water and cut Wombok)#
Before starting on any preparations, start boiling some water filling up about 3/4 of the pan. Heat on high with the lid on.
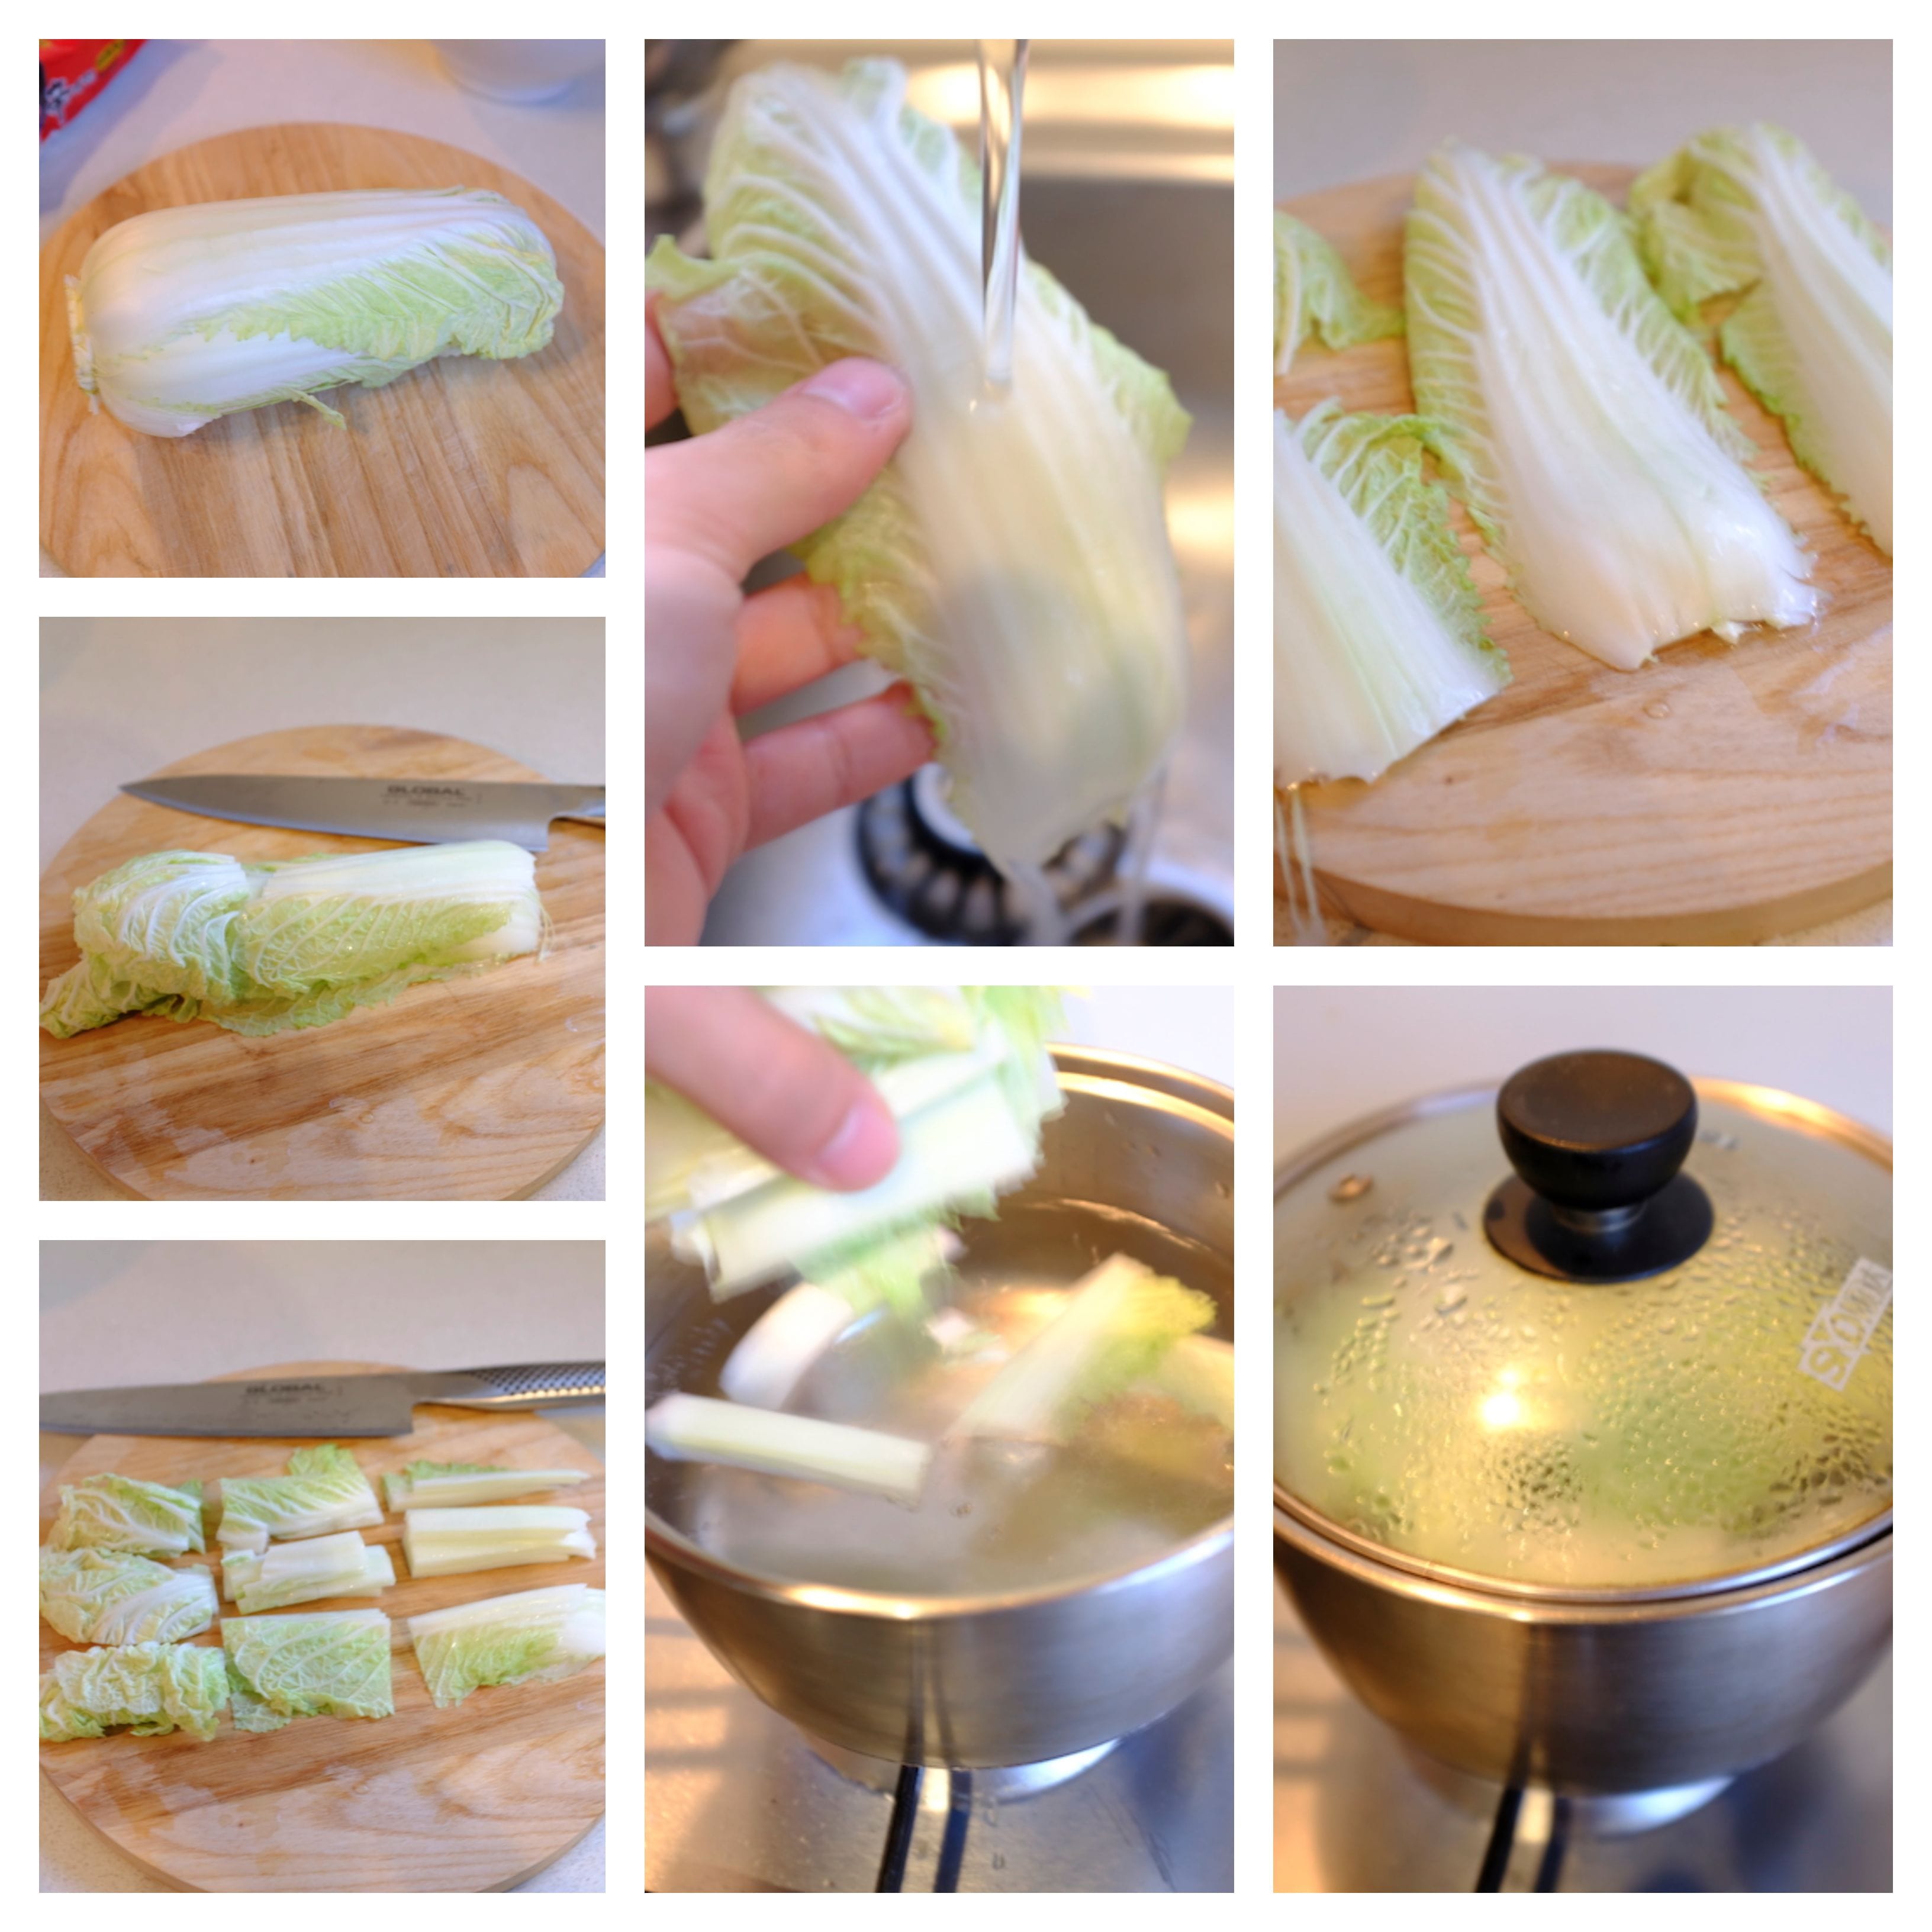
Wash, stack and cut some wombok. I went for 3 pieces of a rather small baby wombok.
Place in boiling water, and close the lid.
Step 2 (Open packets and prep)#
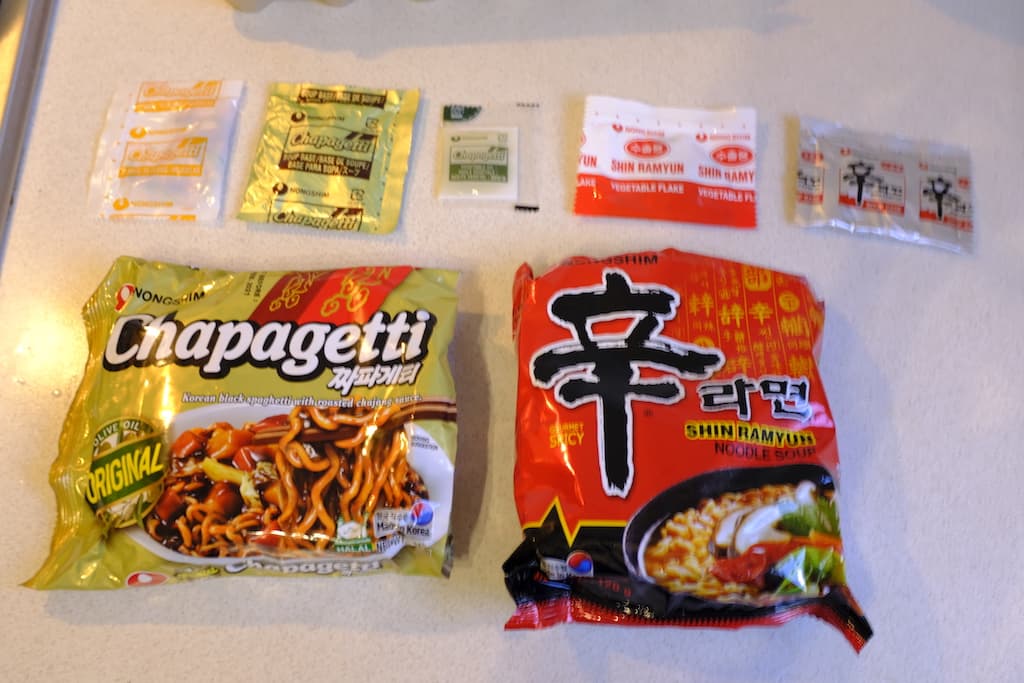
It’s time to get acquainted with what’s inside your noodle packets. We’re going to be using all the packets.
Let’s start by placing all of the Chapagetti’s golden foil flavour packet into a bowl, followed by just over half of the Shin Ramyun’s silver foil flavour packet.
I really wonder why on the Chapagetti it advertises ‘Original Olive oil’ but instead provides a vegetable oil packet.. 🤔
Now it’s time to add the noodles (after about 2 mins of wombok boiling).
I like to add the small pieces left in the packet into the bowl with the seasoning, as it often can give a little crisp.
Step 3 (Add vegetable packets)#
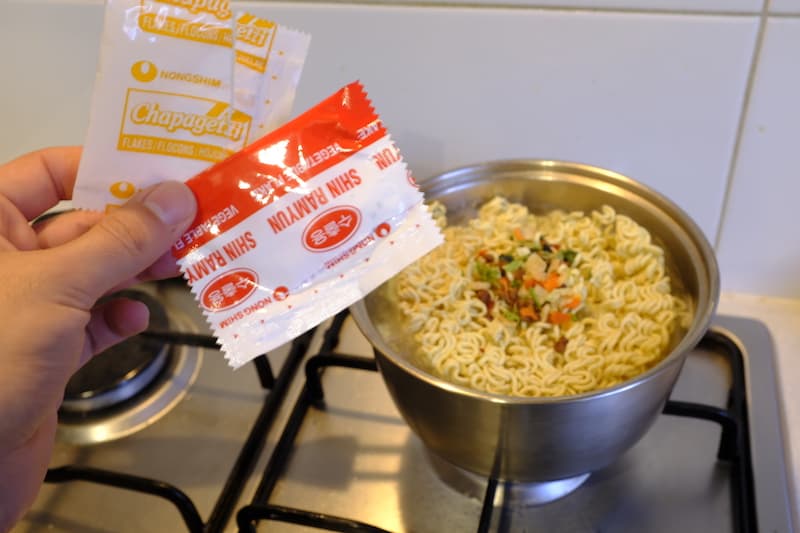
Add in the noodles from both packets, followed by the vegetable flakes.
Step 4 (Add Eggs)#
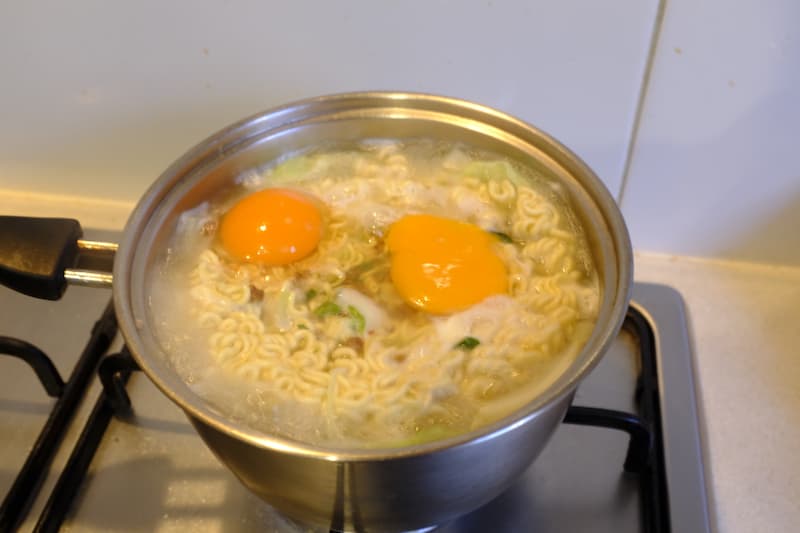
When cooking, I like to use the lid to rise the temperature of the pan, which also rises the water above the top noodles and cooks the eggs evenly.
Step 5 (Cooked, and ready to drain)#
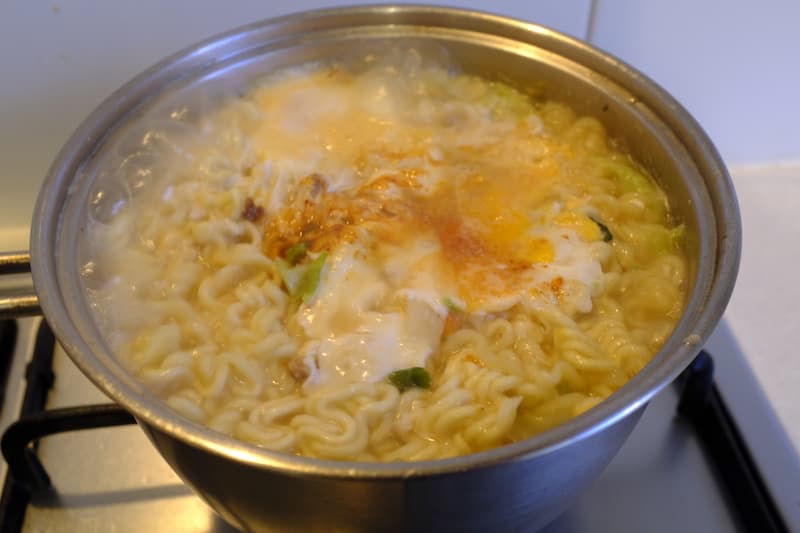
After about 3-4 mins, you’ll notice the egg whites at the top aren’t translucent and have cooked through. This is the perfect time to remove from heat and to mostly drain. Make sure to leave about 1cm of water at the bottom. (More or less when the water starts to trickle when draining)
Step 6 (Add noodles to bowl and mix!)#
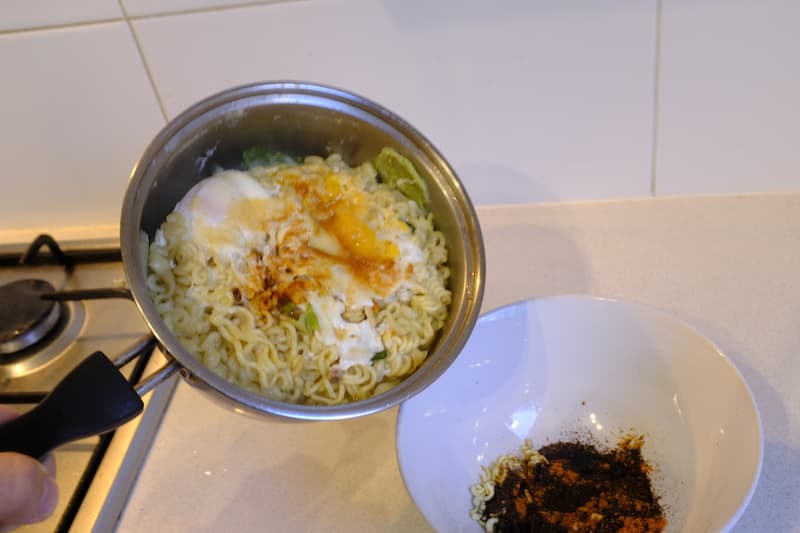
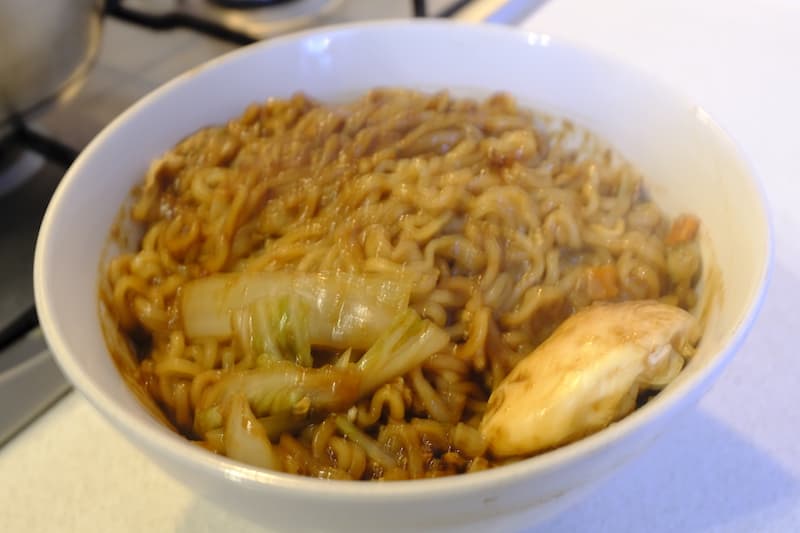
After mixing you’ll get a solid golden brown colour all round. Keep mixing from the bottom and circle it round to the top. (You don’t want a massive flavour punch at the end).
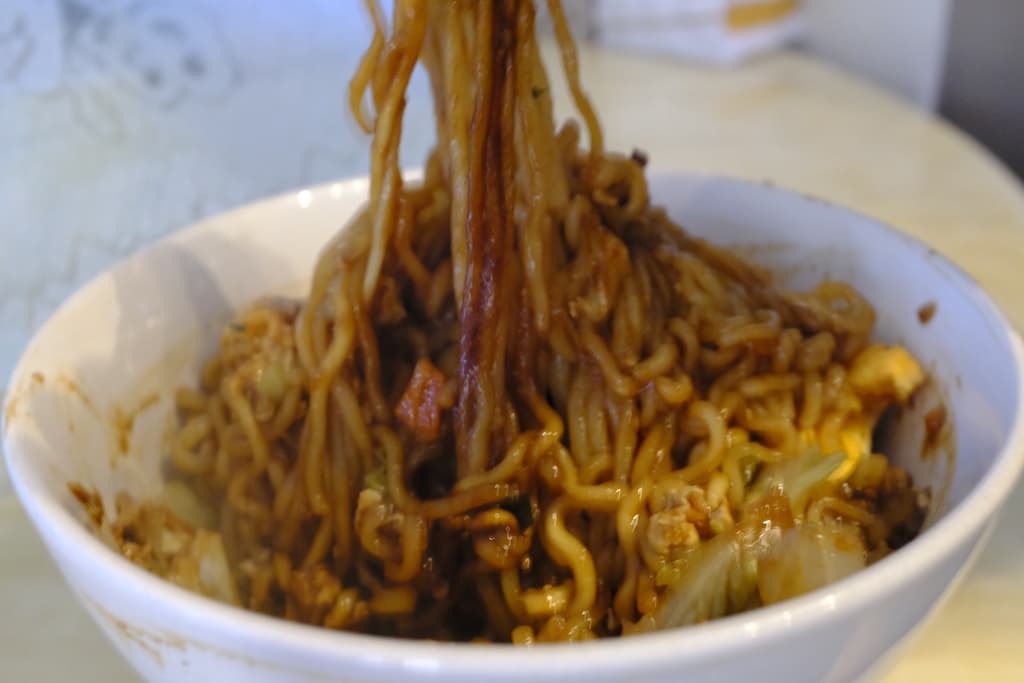
Step 7 (Add to clean bowl club)#
Reflecting on the flavours, you get the spicy from the Shin Ramyun, with the earthy flavour from the Chapagetti that I really feel gives a good kick.
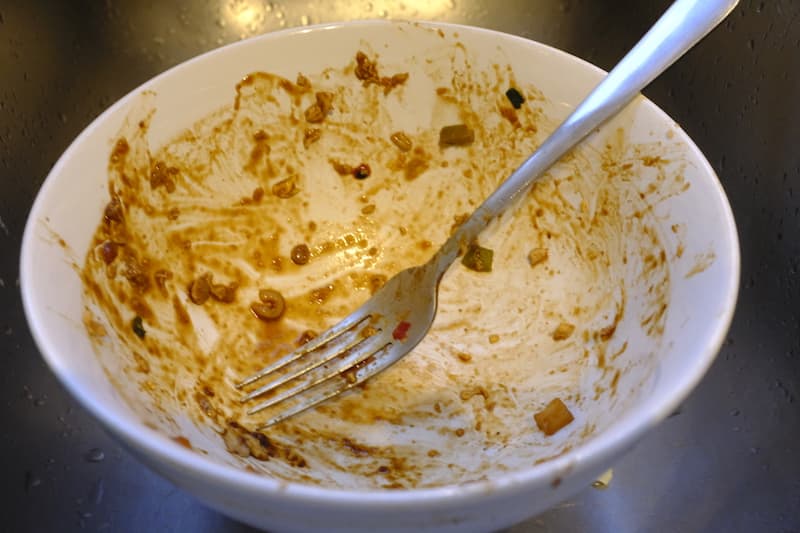
Chapagetti X Shin Ramyun gets a solid re-visit in my book.
8/10
(I have provided an Amazon link for the Shin Ramyun noodles. You can support my blog by clicking on it before purchasing.)